Move Tool
Shortcut: V
Tutorial By: Chelsea Stulen
The Move Tool is simply for
moving something on your screen. After clicking the Move Tool icon, or pressing
“V” on your keyboard, your mouse cursor changes to the symbol the Move Tool
represents. The object on your screen will then have a bounding box (a faint
box around the object that has small boxes on each corner and vertices). To
move the object, simply click and drag your cursor to the place you would like.
Do note, that if you have the
Move Tool selected and the bounding hasn’t appeared, you may need to unlock the
layer. Simply double click the lock icon and select OK and your layer will
become editable.
Another handy shortcut to know
is that you can press and hold down the Shift key on your keyboard in order to
maintain it on a single axis. For example, if you hold shift and drag up, the
object will only go up or down and will still be perfectly aligned with the
sides. This also works for left and right, as well as diagonally.
The Move Tool is also used to
resize objects. In order to resize something, be sure that the “Show Transform
Controls” is checked.
Essentially you are able to
click any of the small squares around the object in order to enlarge it or shrink
it. However, do note that if you would like for it to maintain its proportions,
you MUST hold down the Shift key on your keyboard while resizing it.
This is an example of not holding the Shift key while
resizing:
The following is an example of
holding the Shift key while resizing:
See the difference? This can be
crucial when combining specific photos together.
You are also able to turn
photos (i.e. 90 degrees clockwise or more specific increments). If you wish to turn
the image, place your cursor next to a corner of the bounding box and it will
turn into a turned arrow icon. Clicking it you may turn it any increment you
want. If you hold down shift while turning the image, it will turn at 15-degree
increments. Sometimes this little feature is useful when combining several
photos together. Do note, that whenever you enlarge or turn the image, nothing
outside the canvas will show. The canvas is essentially the box you work in
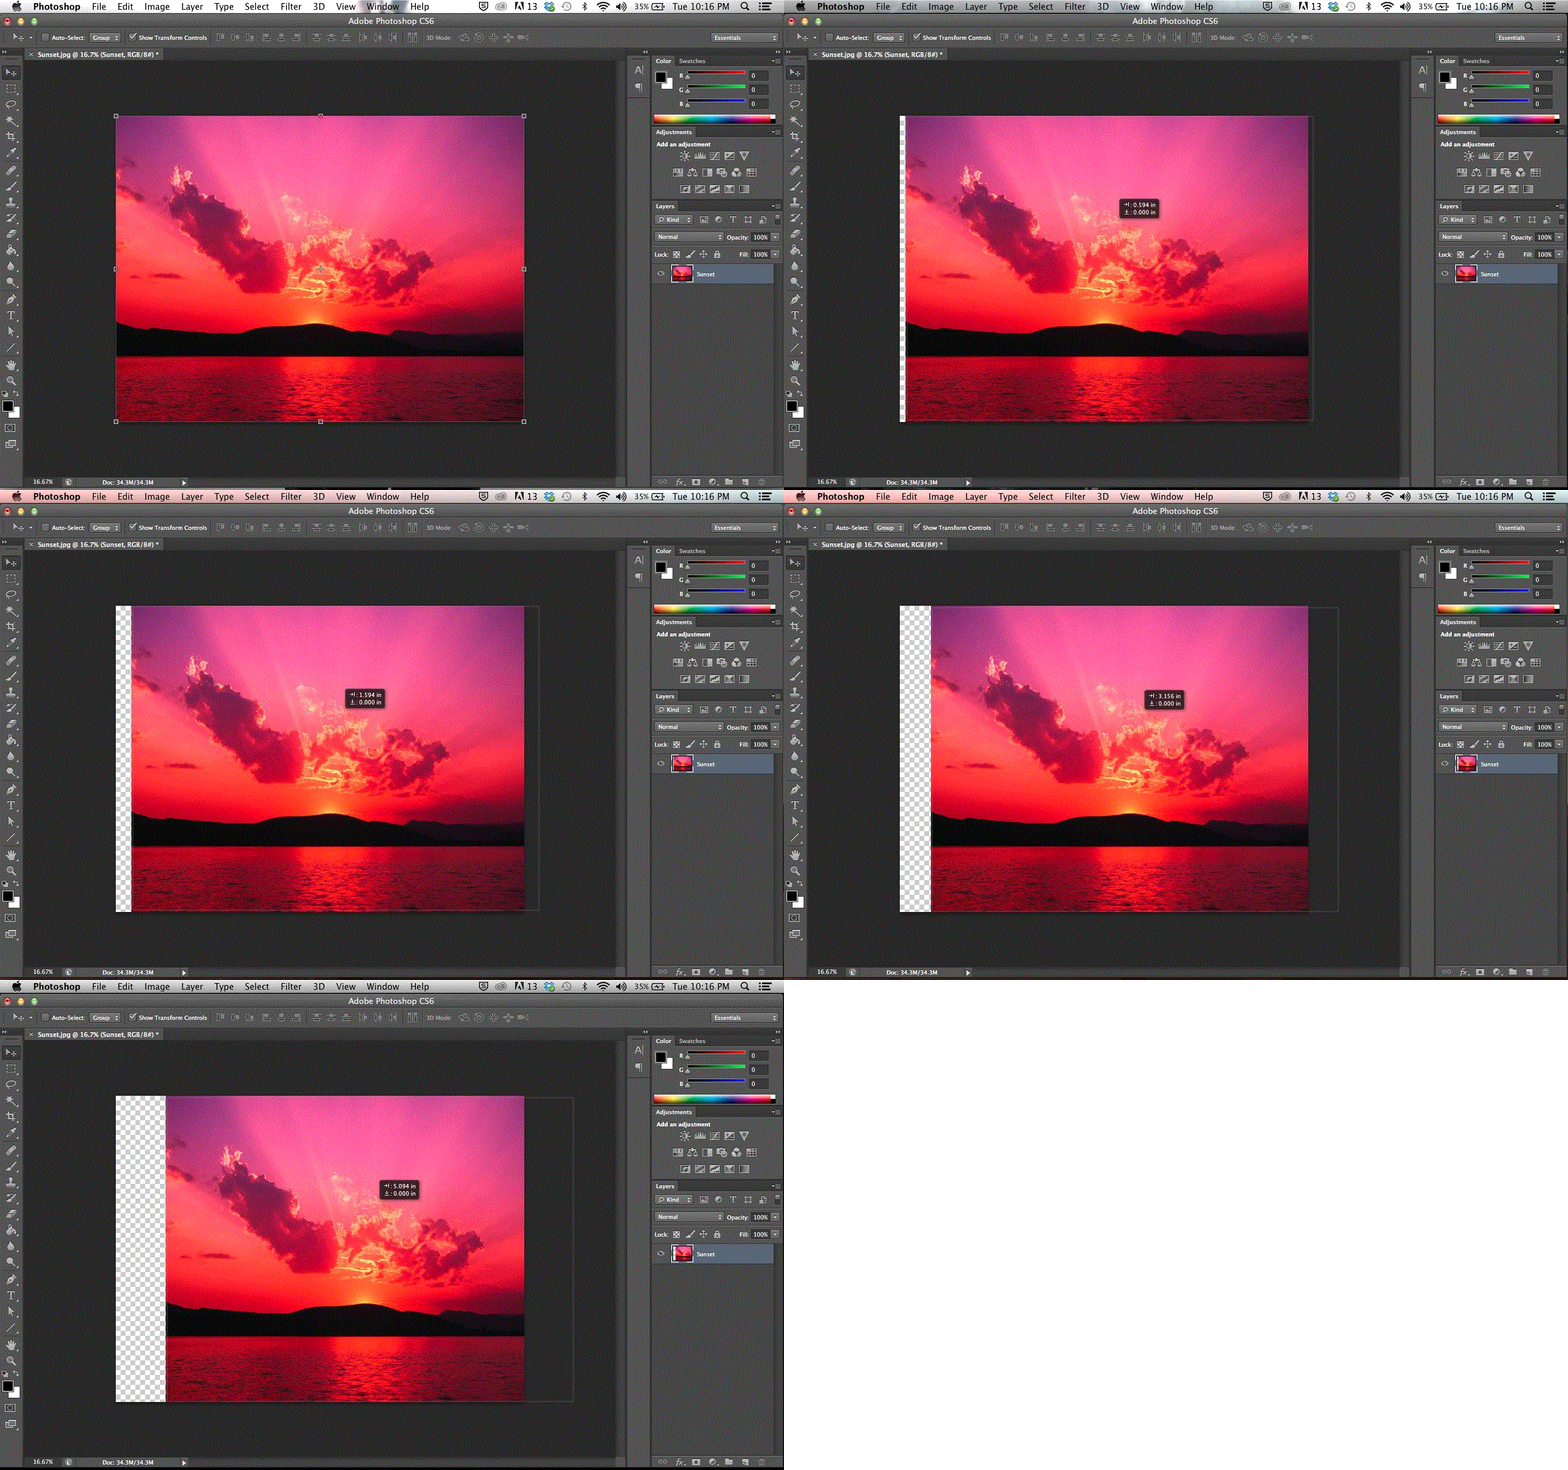
that you edit. In the image below, you can see empty space of the canvas in a
white and grey checkerboard pattern.
You are also able to input the
exact increments you wish to turn, enlarge, shrink, or move your image.
Sometimes this is easier than free-handing it with your cursor. To input data, type
your increments at the top of your screen and press ENTER. You may even input
percentages for horizontal or vertical axes when it comes to resizing.
Something handy I have come to
learn is that this is especially useful to quickly “flip” an image (whether it
be vertically, horizontally, or both). To do this, you click any part of the
bounding box, and type a negative sign (“-“) in front of the number (typically
you will see 100%, so essentially you will be making it -100%). After typing,
be sure to press ENTER. Below is an example of flipping the image horizontally.
Hope this all helps! Keep posted, as I will be posting more on other tools and features for Photoshop.


No comments:
Post a Comment